
1. Heat the material
Put the starting material in the forge and wait for the ready cue. The material visibly starts shaking when it is hot enough. Treat that as the hand-off point to the anvil rather than leaving the piece in the forge indefinitely.
2. Time the anvil hits
The anvil is a timing minigame. The on-screen circles line up; click when the moving/golden indicator reaches the target. A run can contain a mix of perfect and imperfect hits, so one miss is not a reason to trash the whole blade.
Timing tip: prioritize consistency over panic-clicking. Accuracy improves once you stop clicking rapidly and wait for the alignment.
3. Quench fully
Drag the blade down into the water until it is fully submerged. The tutorial instruction is explicit about full submersion, making this the least ambiguous stage of the process.

4. Sharpen without overshooting
At the grindstone, hold the input to fill the ring and release in the perfect zone. If you push too far, the value drops back toward its minimum. This is the stage where “just a little longer” can turn a good blade into a weaker result.

5. Assemble and read the result
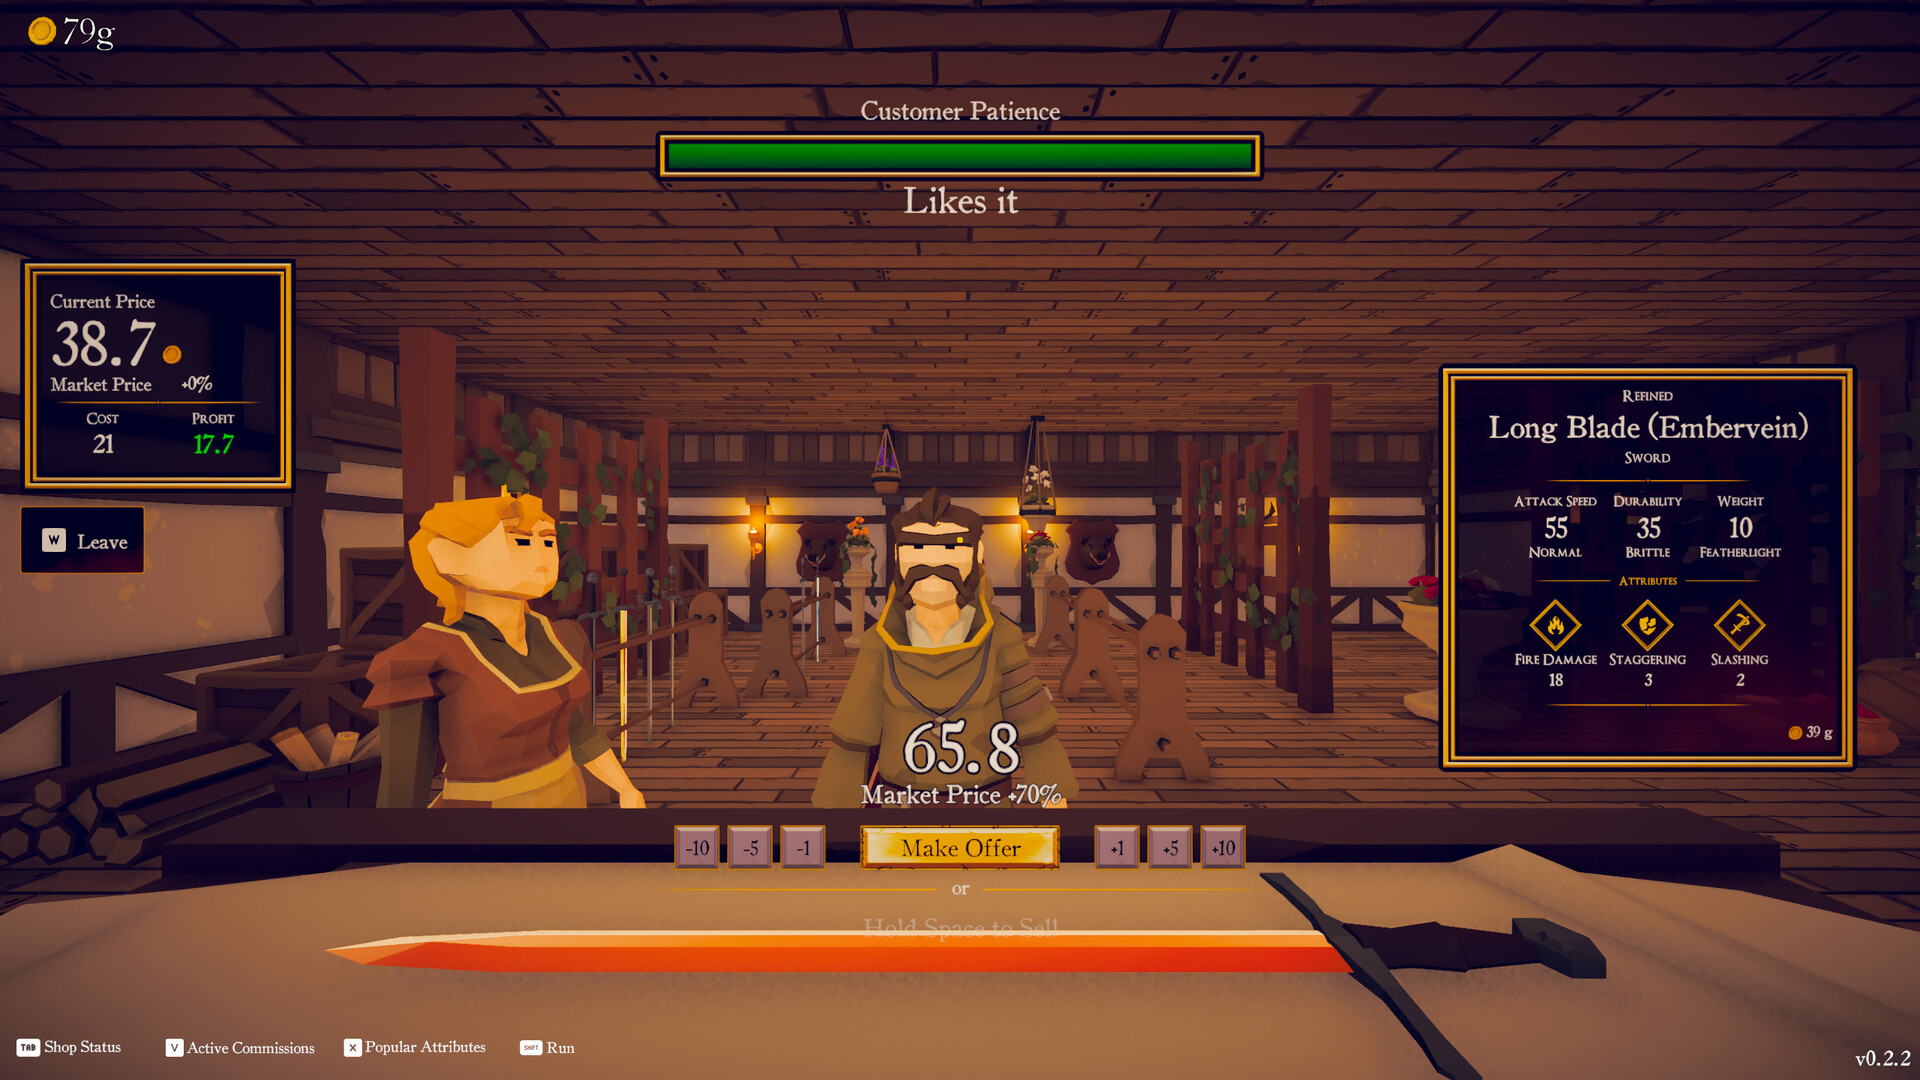
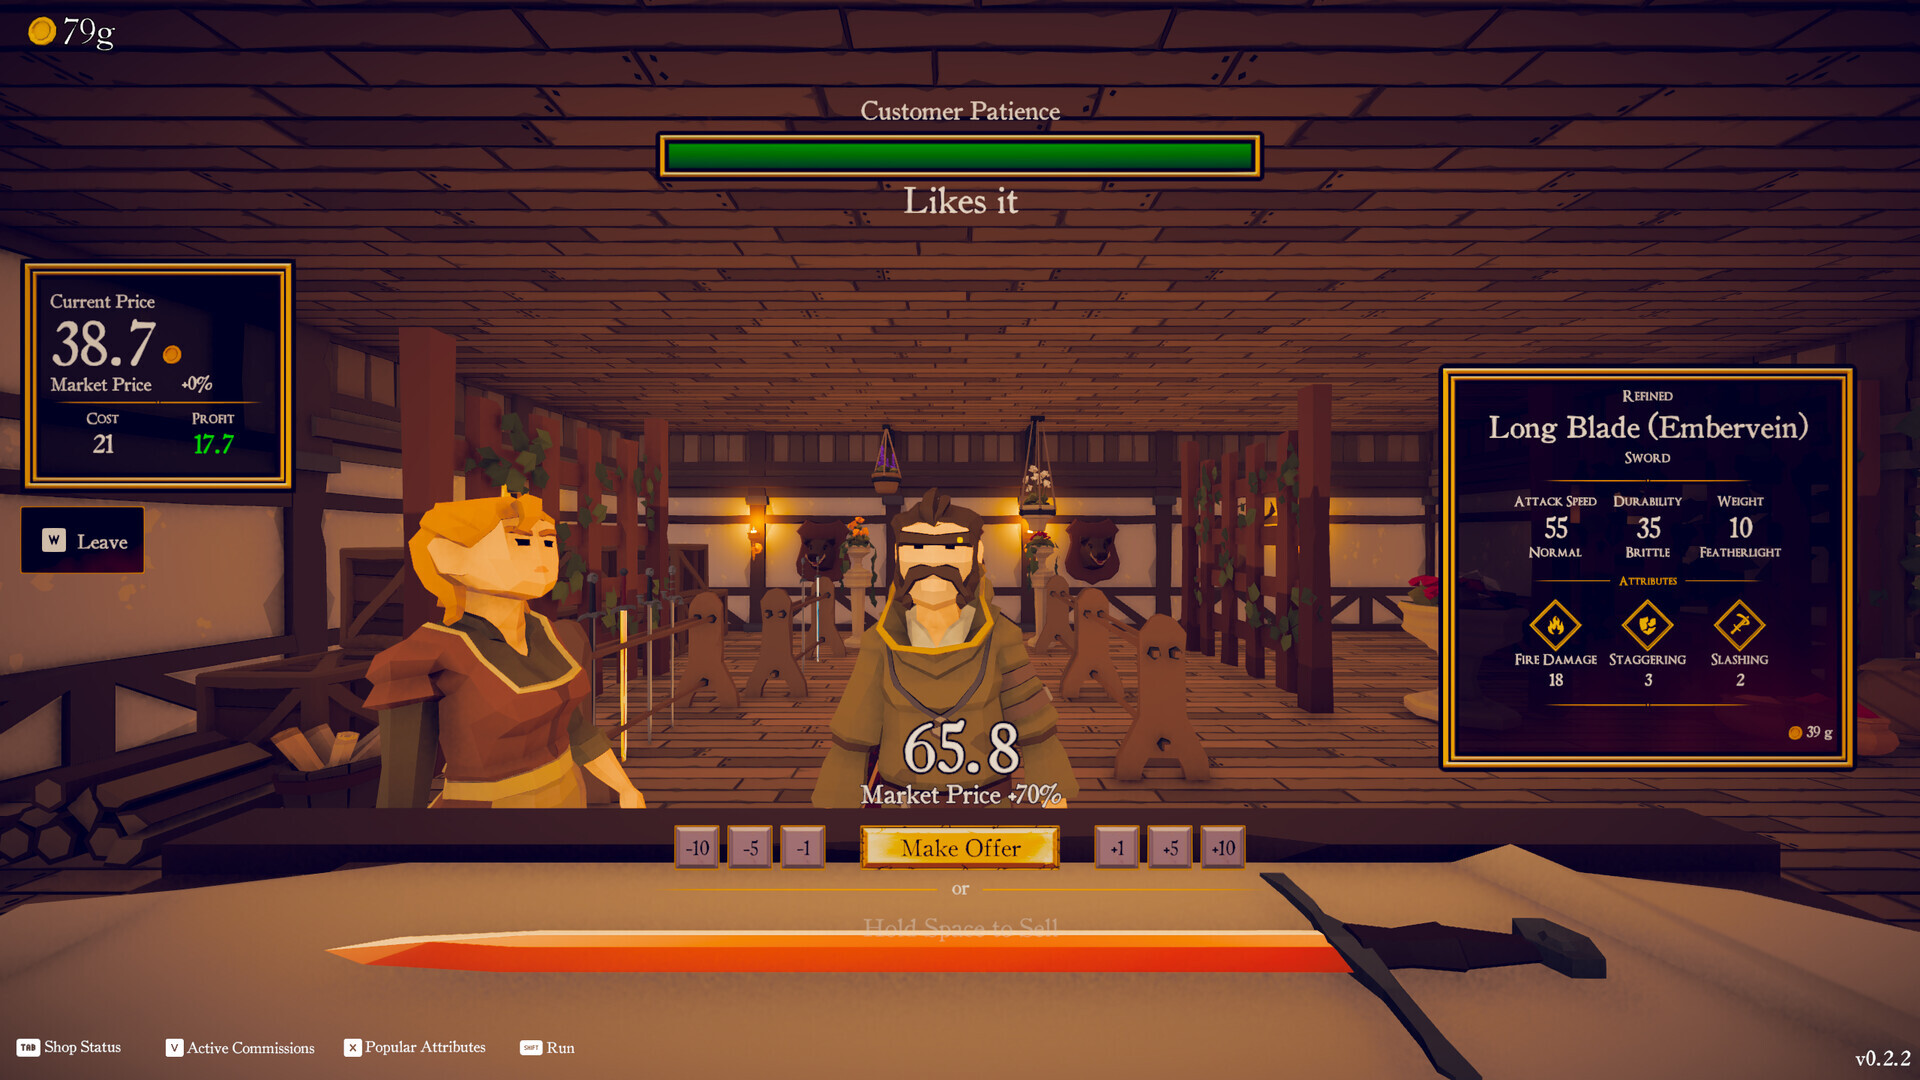
Take the finished blade to the crafting station with a hilt and crossguard. After assembly, read the attributes before deciding whether the weapon belongs on the rack, in a commission chest, or in your discard pile.